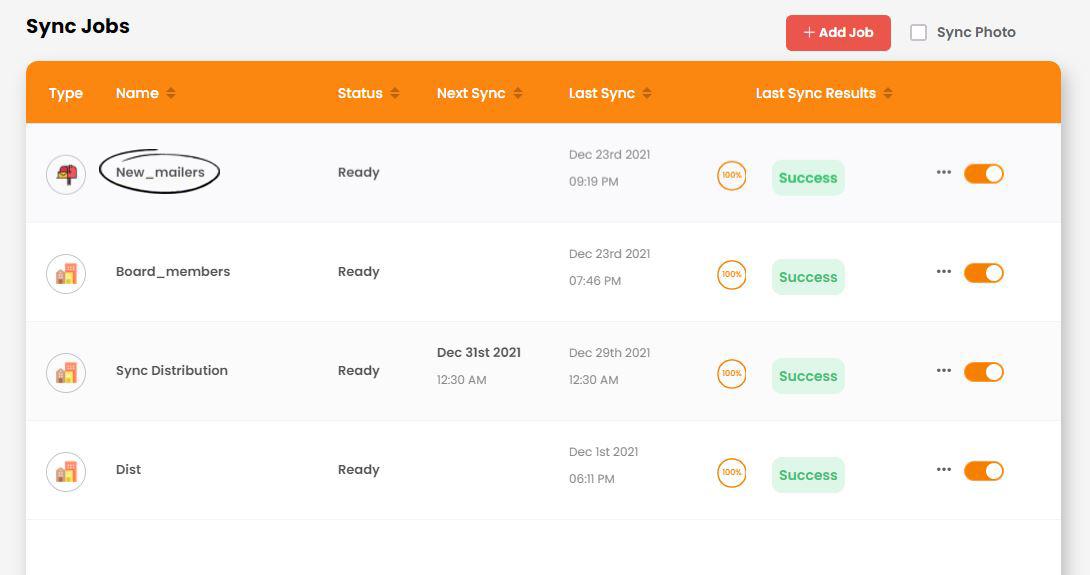
Login to your 365mobilesync account
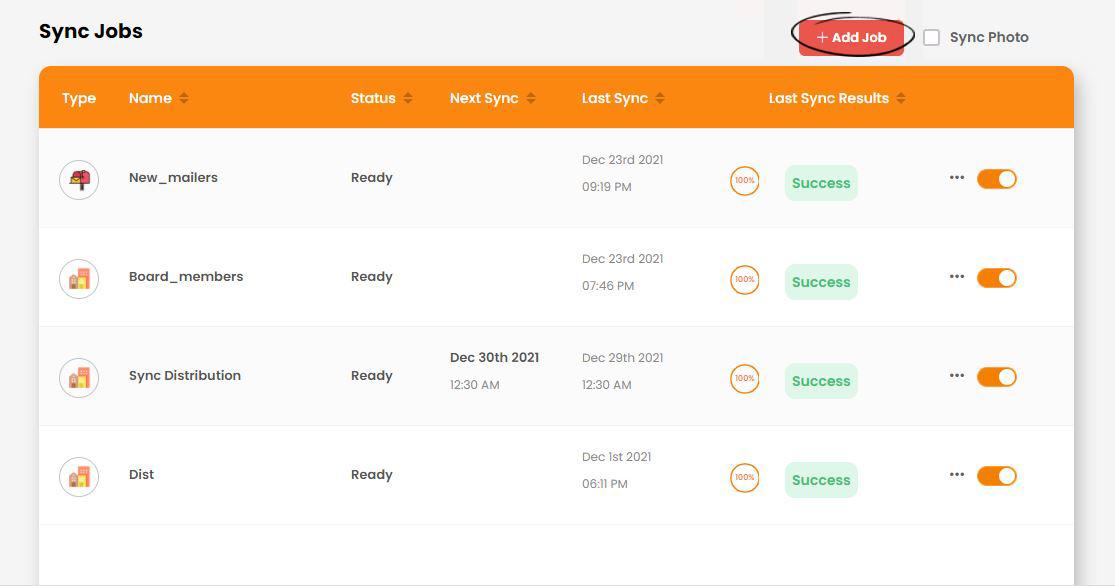
Click on Add Job button available on the right column of dashboard menu
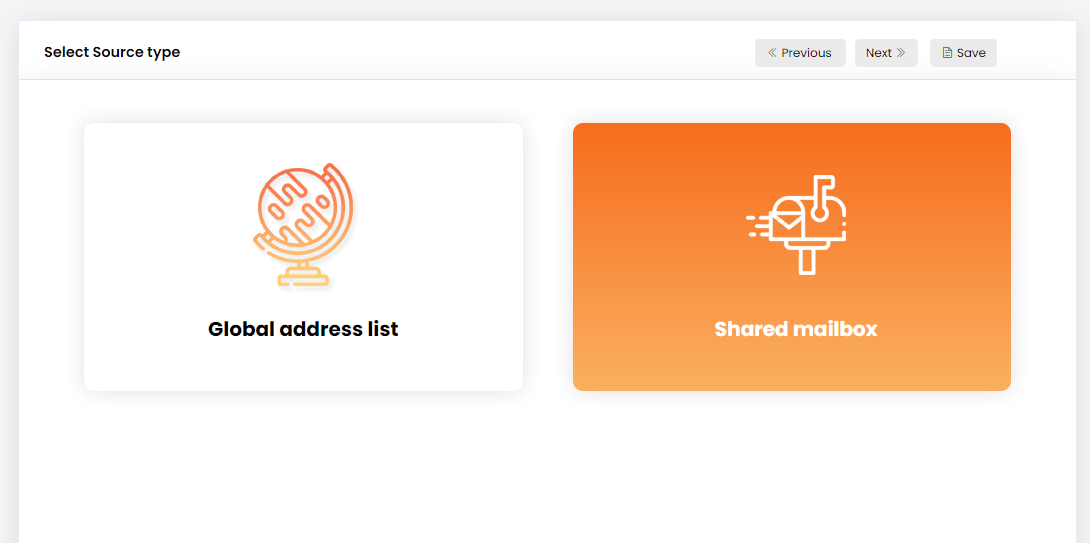
Select Shared Mailbox option from the list
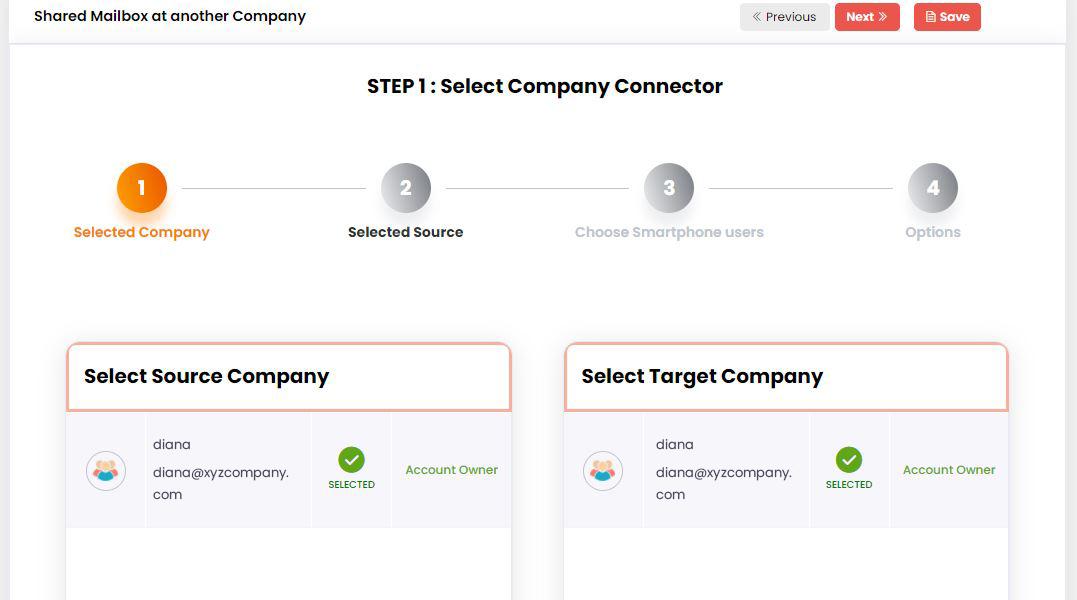
Step 1: Select your company creator
First, select the source company to sync. Upon selecting, a green icon appears on the selected option as in the below picture.
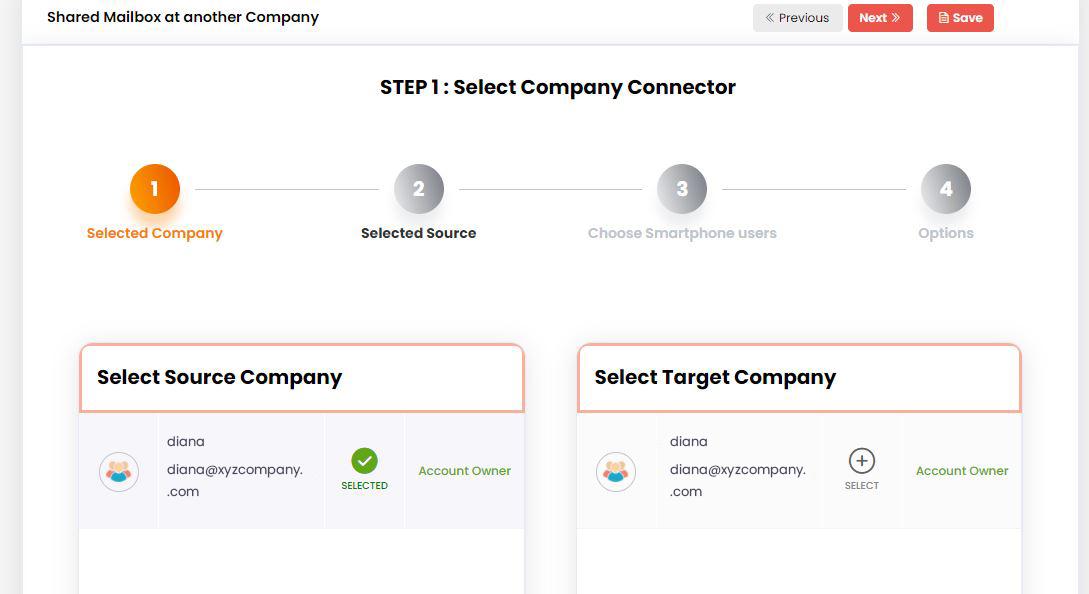
Now, select the target company to complete the shared mailbox sync job. Upon selecting, a green icon appears on the selected option as in the below picture.
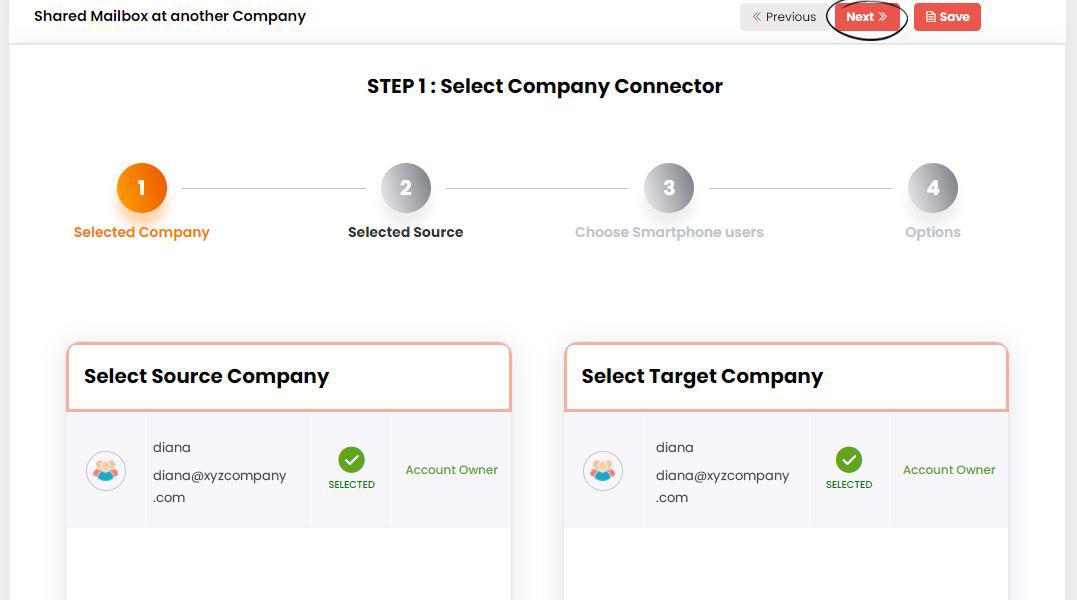
Click on the next button from the top menu
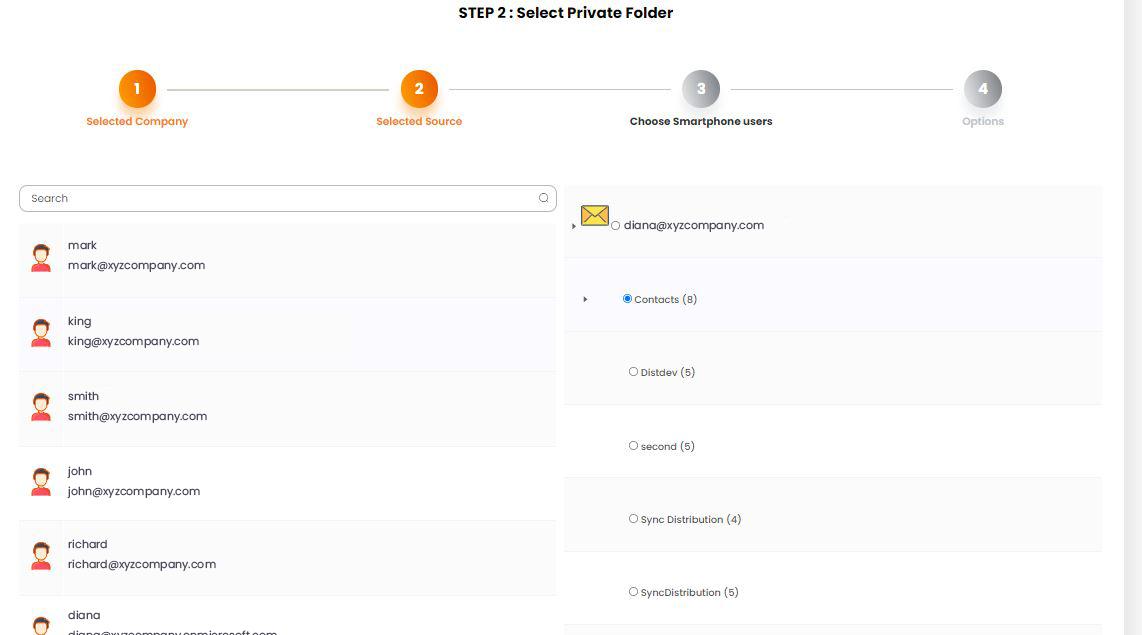
Step 2: Select private folder
Now select the user mailbox to sync as the source. Selected contact list hierarchy will appear on the right column. At this step, select the contacts option to sync all the contacts.
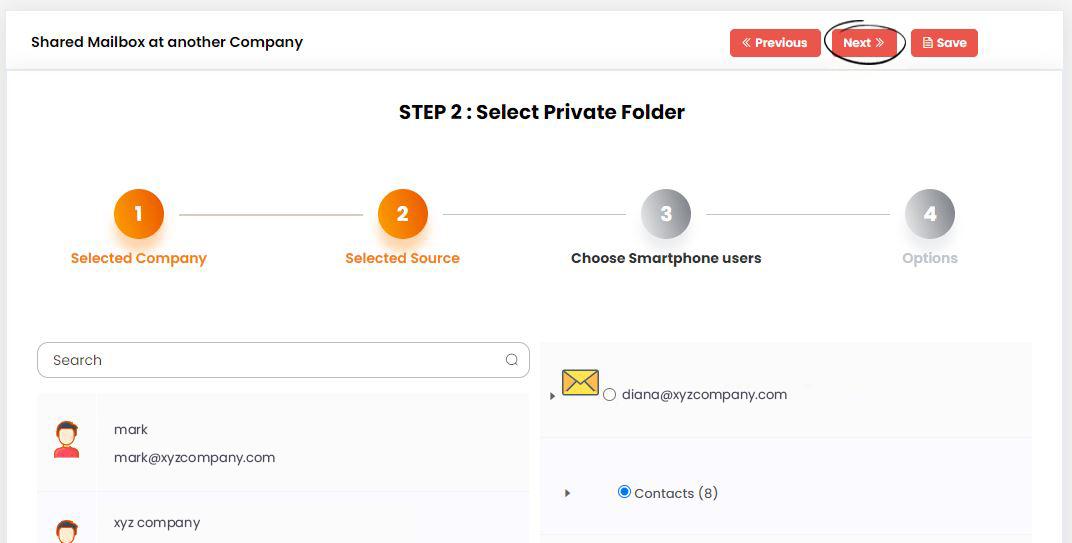
Click on the next button from the top menu
Step 3: Choose smartphone users
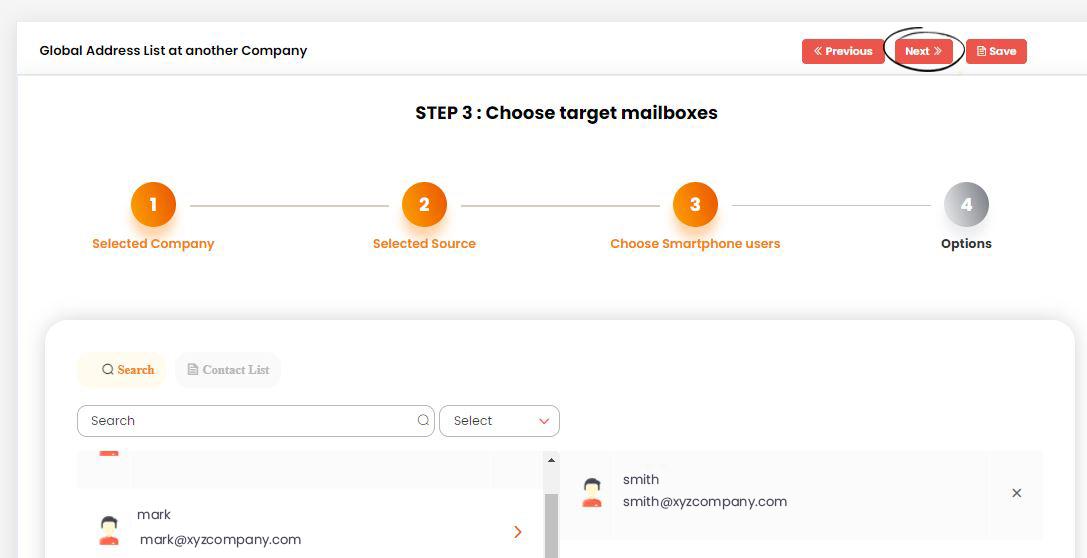
Select the target user (s). The selected user (s) should appear on the right column.
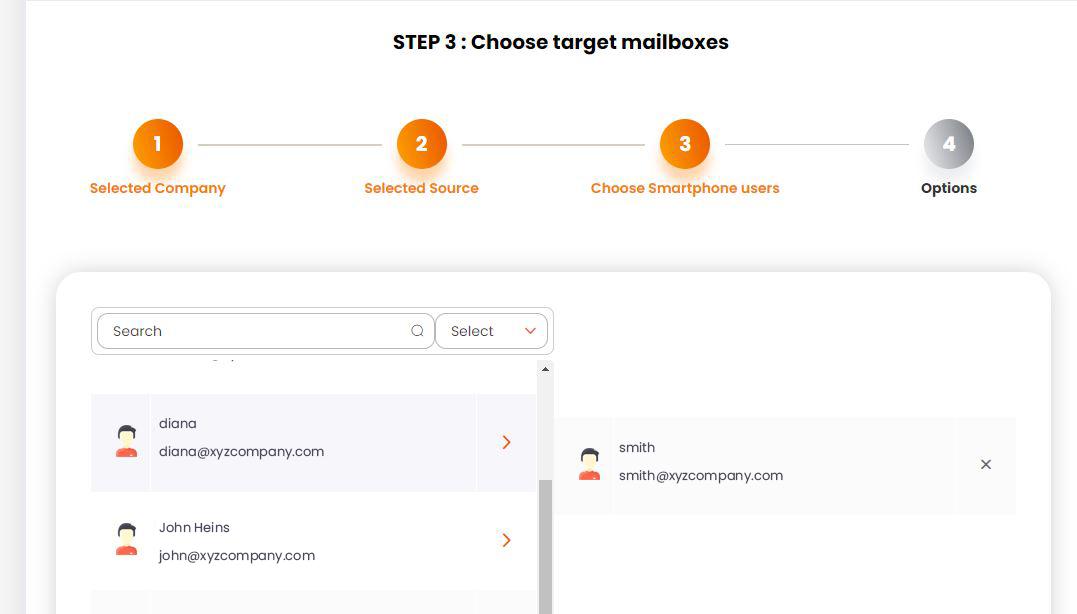
Click on the next button from the top menu
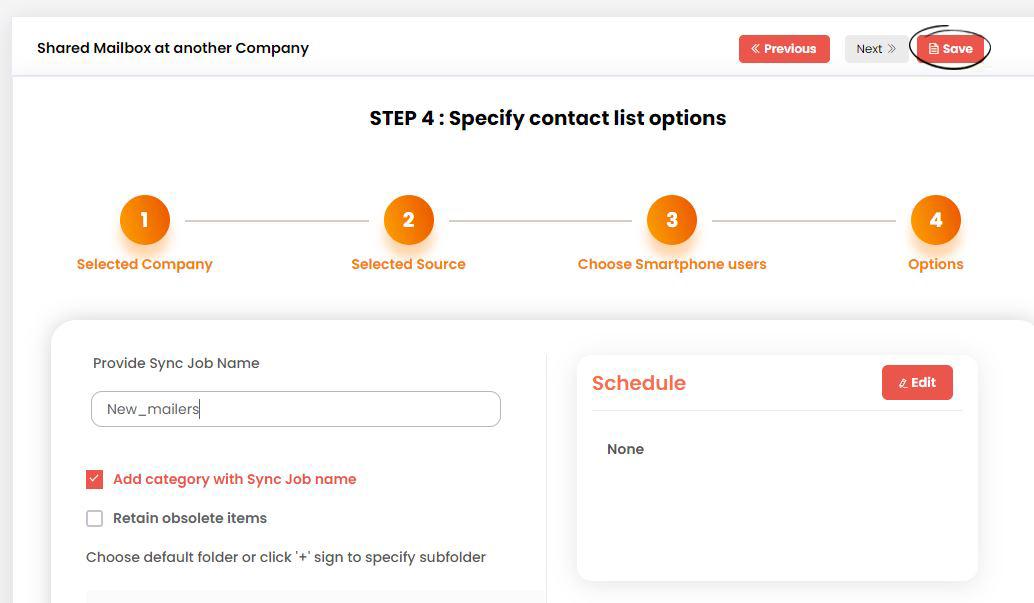
Step 4: Options
Provide a sync job name in the provide sync job name field.
Select “Add category with sync job name” to add the category name alongside the sync job name. We recommend you to select this option.
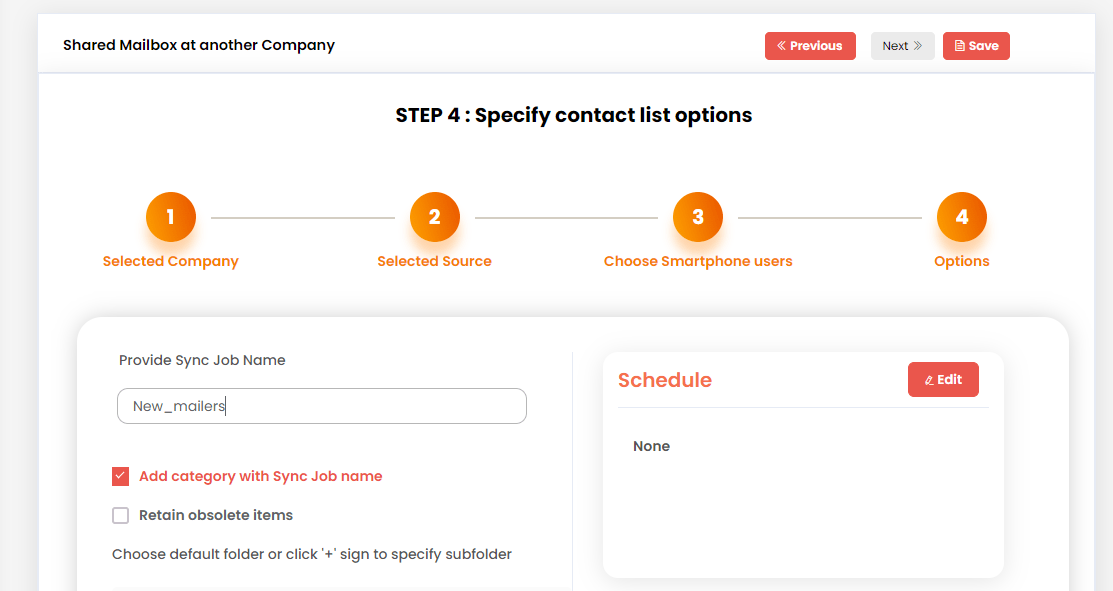
You may save the sync job and later on complete the process, or else schedule a time based on your preference. To do this click on the edit button and add required details.
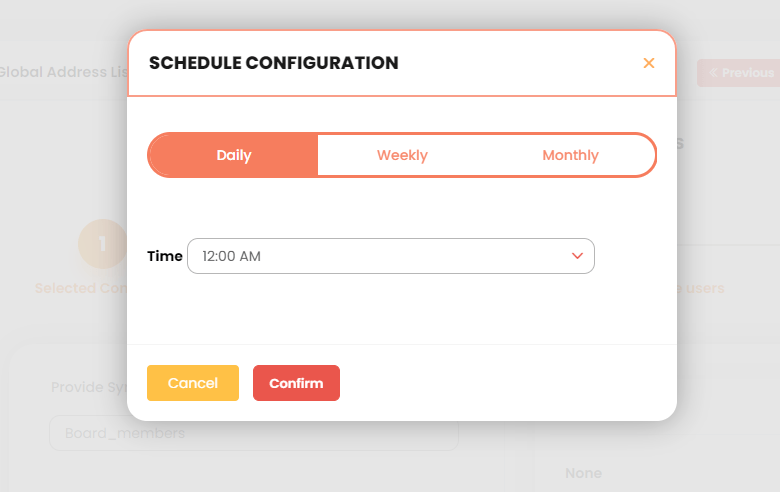
Click on the save button on the right top to complete the shared mailbox sync process.
Your 365mobilesync dashboard will appear before your screen.
