How to assign an admin role to the 365mobilesync service account?

A dedicated service account in 365mobilsync Enterprise edition will help you manage Global Address List (GAL) and Shared Mailbox sync for an entire Office 365 tenant. Learn how to create and start working with a dedicated service account for 365mobilesync in the Office 365 admin center.

What are the benefits of having a dedicated service account in the 365mobilesync enterprise edition?

  • You no longer need to worry about password expiration as in the personal Office 365 edition. You can easily set the password reset to the never expire option.
  • Manage access permission to specific accounts in the Office 365 tenant.
  • Easily enable/disable your service account without affecting other accounts and functions of 365mobilesync.
  • Share account permission to other users without revealing the password.

Setting up your dedicated service account

How to create a dedicated service account with the admin center?

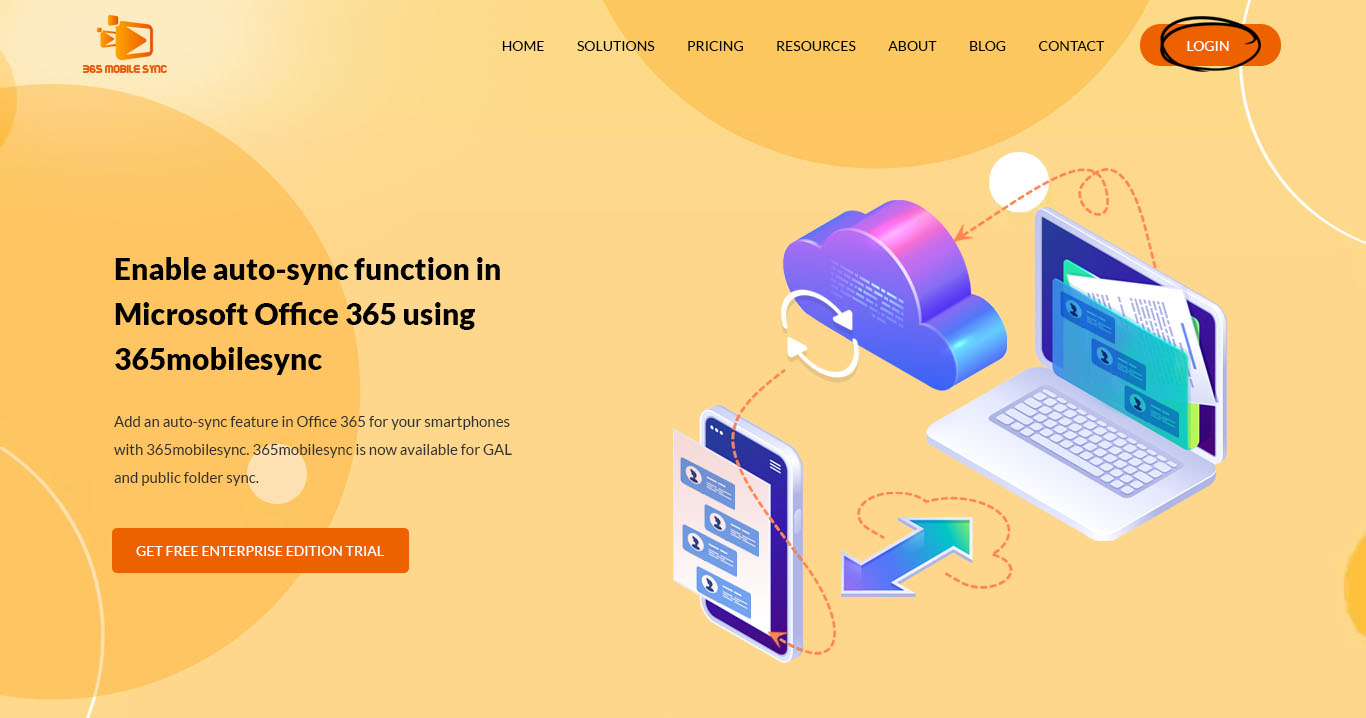
Step 1: Launch the Office 365 admin center

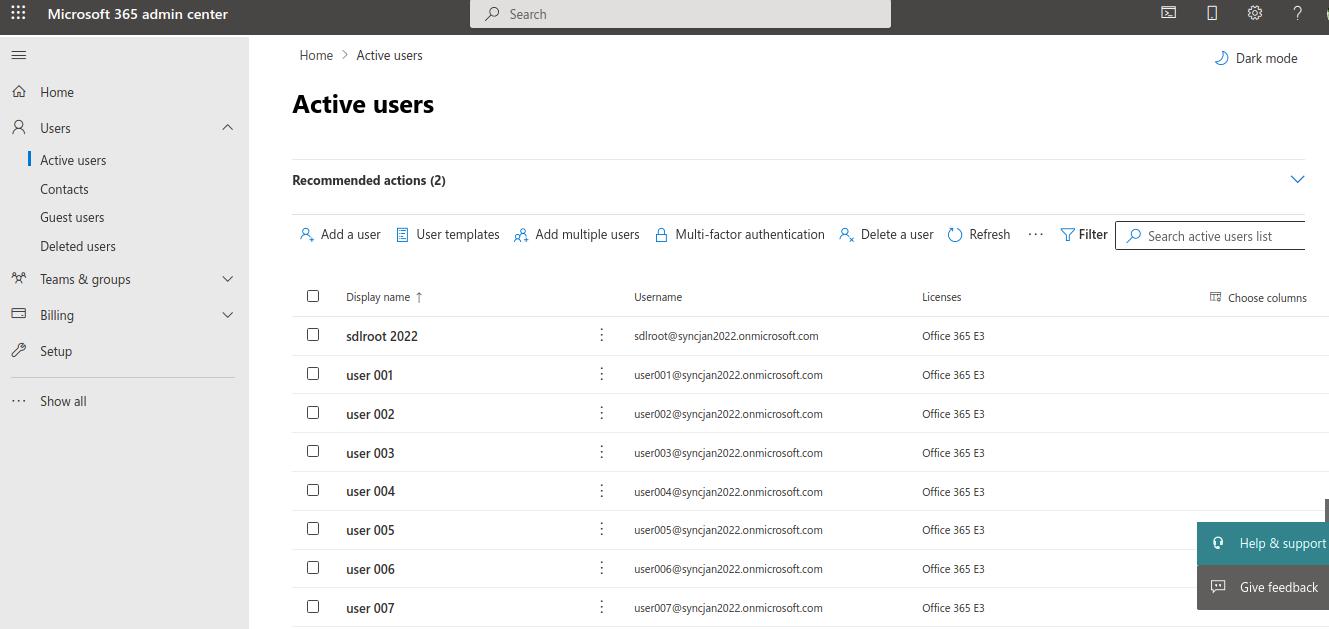
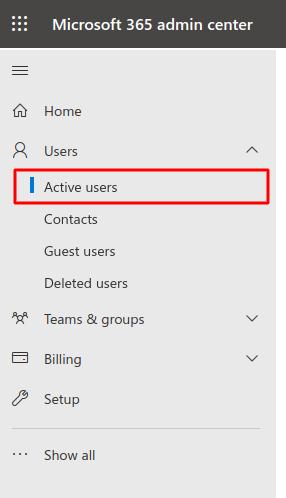
Step 2: Under the left navigation menu, click on Users > Active users.


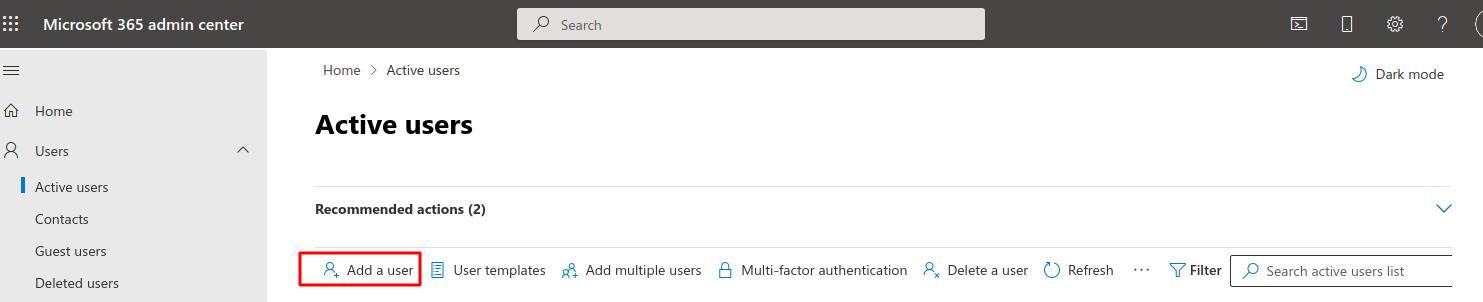
Step 3: Click on + Add a user button

Step 4: The Add a user wizard will pop out on the right side of the window.

Step 5: Fill in the required fields.

Step 6: Click Let me create the password option under Password settings.

Step 7: Create a strong password for the account.

Step 8: Click Send password in email upon completion.

Step 9: Click Next and the next step opens before you – Assign product licenses.

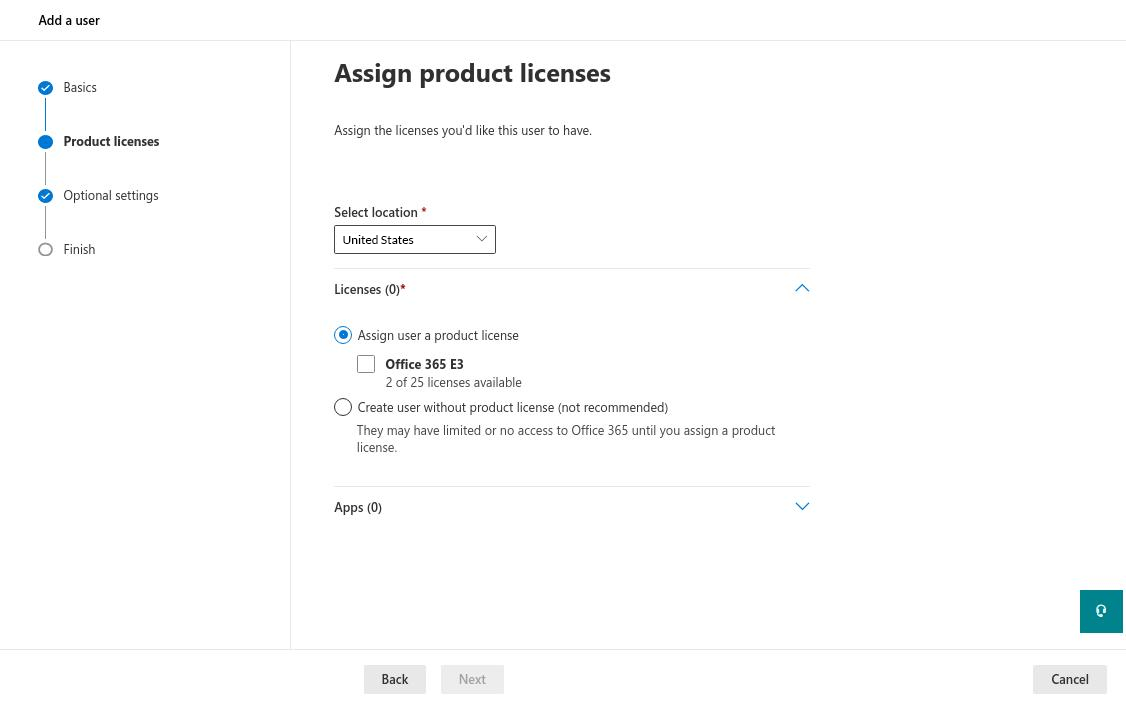
Step 10: Select the location of the service account.

Step 11: Select an Office 365 E3 or the Create user without product license option.

Step 12: Click Next and the next step opens before you –Optional settings portion of the wizard.

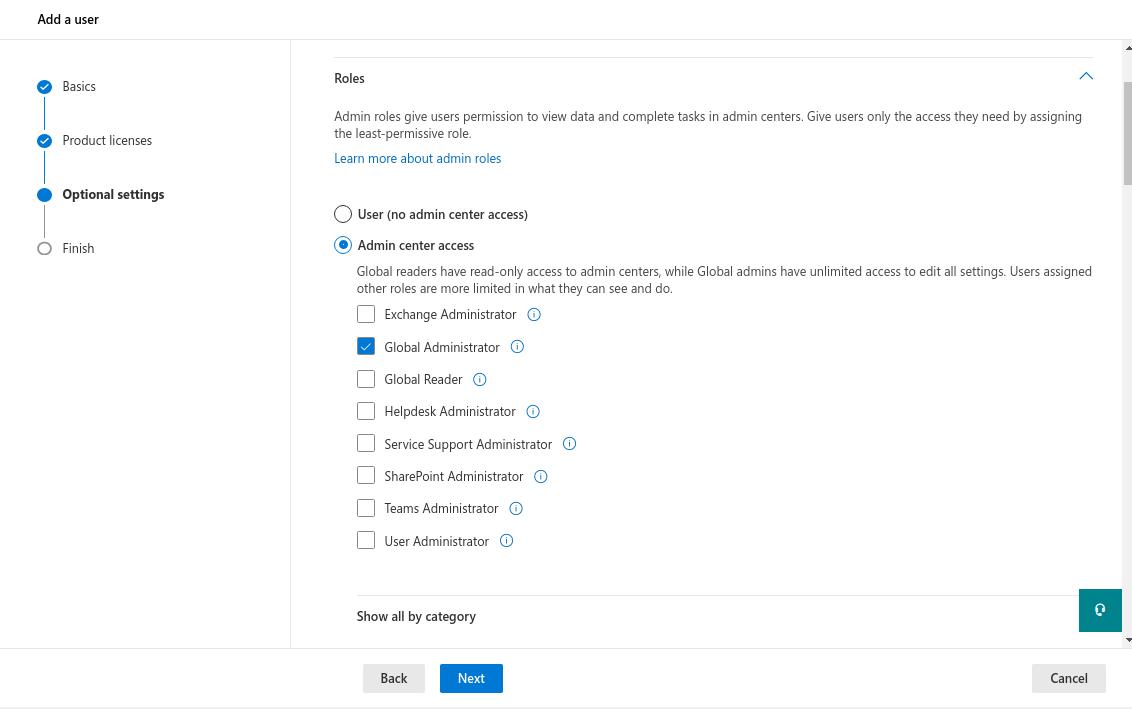
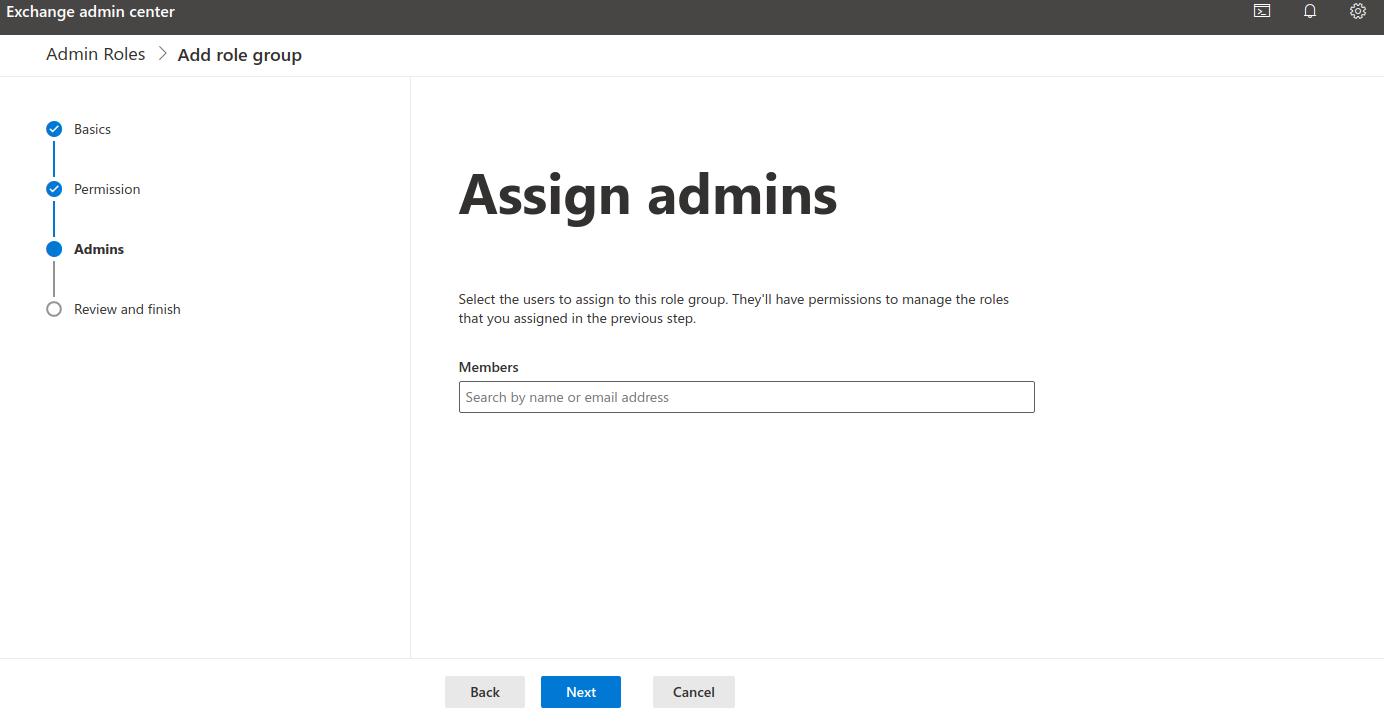
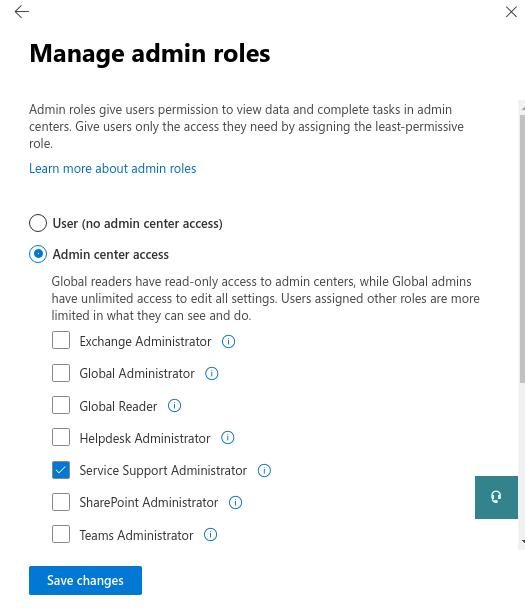
Step 13: Click Roles, which will expand the User Roles section of the wizard.

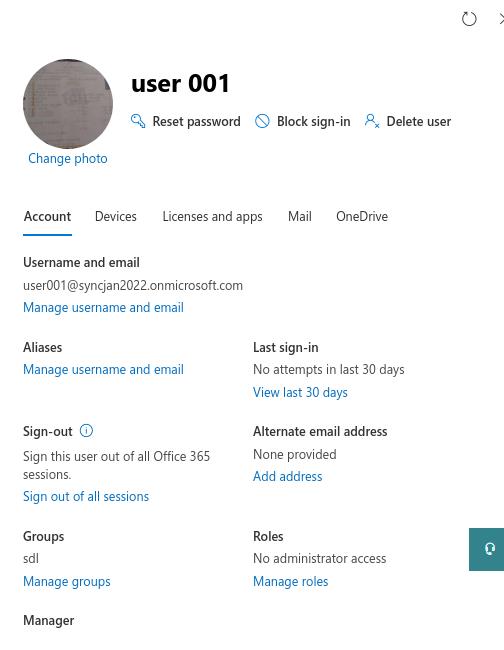
Step 14: Select Admin center access > Global admin.

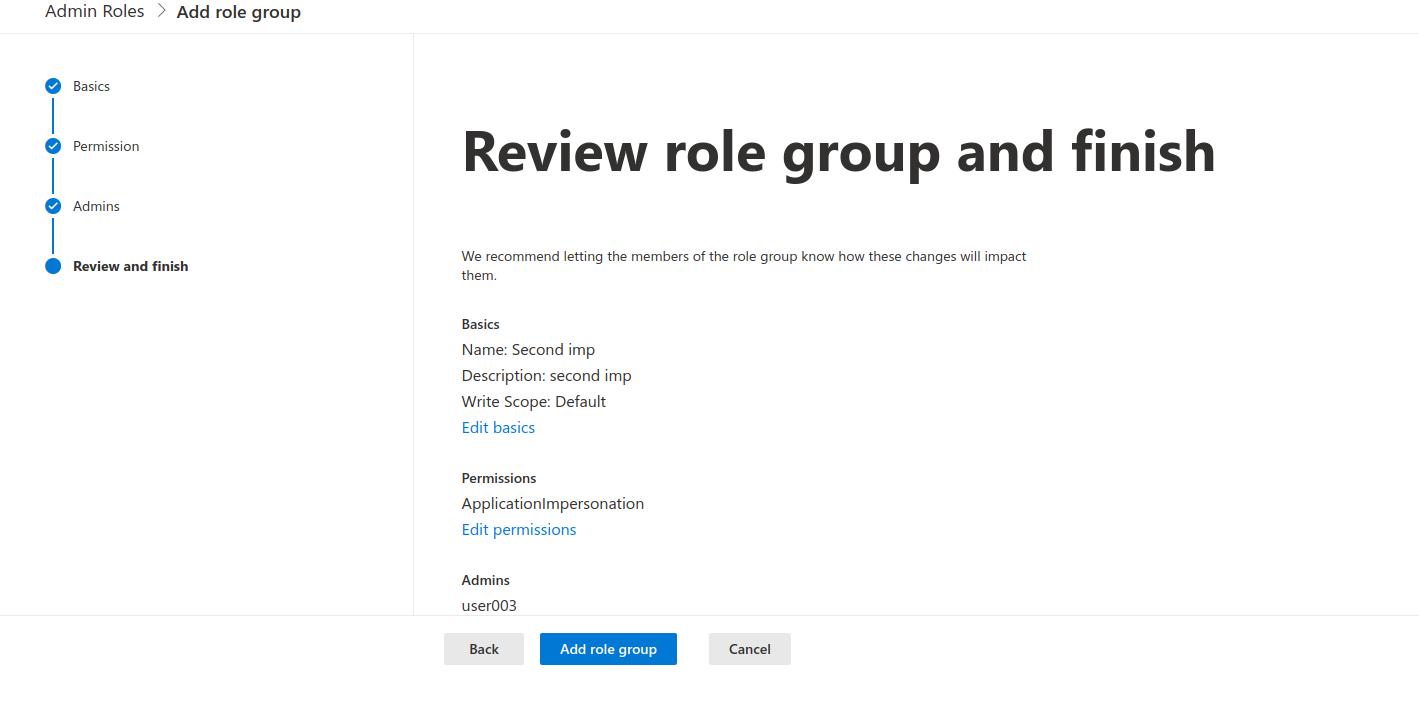
Step 15: Click Next and the next step opens before you – Review and finish adding portion of the wizard.

Step 16: Review all the information provided to the wizard. Click Finish adding.

Upgrading to 365mobilesync requires a global administrator account with the application impersonation role. The application impersonation role created in Office 365 enables administrator accounts in 365mobilesync as a user account, allowing the application to authenticate sync tasks and push updates to every user in an Office 365 tenant.

How to give the Dedicated Service account the Application Impersonation role?

  1. Launch the Office 365 Admin Center.
  2. Click Exchange under Admin Centers in the left-hand navigation panel. (See figure below.)
  3. You will be taken to the Exchange Admin Center (EAC).
  4. Click Admin Roles under Exchange Admin Center in the left-hand navigation panel. (See figure below.)
  5. Click + to add role group
  6. The Add role group wizard will pop out on the right side of the window. (See figure below.) and fill in the required fields.
  7. Click Next. You will be taken to the Add permission portion of the wizard.
  8. Select Application Impersonation Role and Click Next. You will be taken to the Assign admins portion of the wizard.
  9. Add the Members and Click Next.You will be taken to the Review role group and finish portion of the wizard. (See figure below.)
  10. Review all the information provided to the wizard and then Click Add role group.
  11. NOTE: It may take 30–40 minutes for the Application Impersonation role to apply on the service account and replicate across Office 365 services.

A dedicated service account with a global administrator role is required while upgrading to 365mobilesync enterprise edition. So while signing up for the first time for the enterprise edition, demote the service account by assigning the service account with a custom role. This action will not affect any functionalities of the 365mobilesync application. Follow the below steps to assign the admin role to the 365mobilesync service account.

How to demote the Service Account from the Global Admin Role with the Admin Center?

  1. Log in to the Office 365 Admin Center.
  2. Click Admin under Apps to go to the Admin Center.
  3. Click Users > Active Users.

    You will be taken to your tenant’s Active users list.
  4. Click the service account you would like to demote. The account information will pop-out on the right side of the window.

  1. Click Manage roles under Roles.
  2. Click Service support admin under Admin center access.
  3. Click Save changes.

Click on the login button on the top menu


Enter your registered office 365 email in the email field and click on the “Proceed to Office 365 Login” button.


Enter the password in the password field and click on sign in button

Note: Use the Forgot my password button if you don’t remember your office 365 account password details.

Once reset, log in to the account using the new password by following the step 2 process.

Mark a ✔ on the stay signed-in option to enable auto-sign-in to your account; you don’t need to enter the details to sign into your account every time you log in. Auto-save feature will ease your dashboard access.


You will find 6 main options available in the new window.

  1. Dashboard
  2. Sync Jobs
  3. Contact Lists
  4. Mailboxes
  5. Licensing
  6. Settings

1 -> Dashboard shows an overview on sync jobs performed so far in your account, contact list, and licensing.

Refer dashboard image

1a -> Sync Jobs

The table above shows the type of task assigned by you, the name you provided for each sync job.