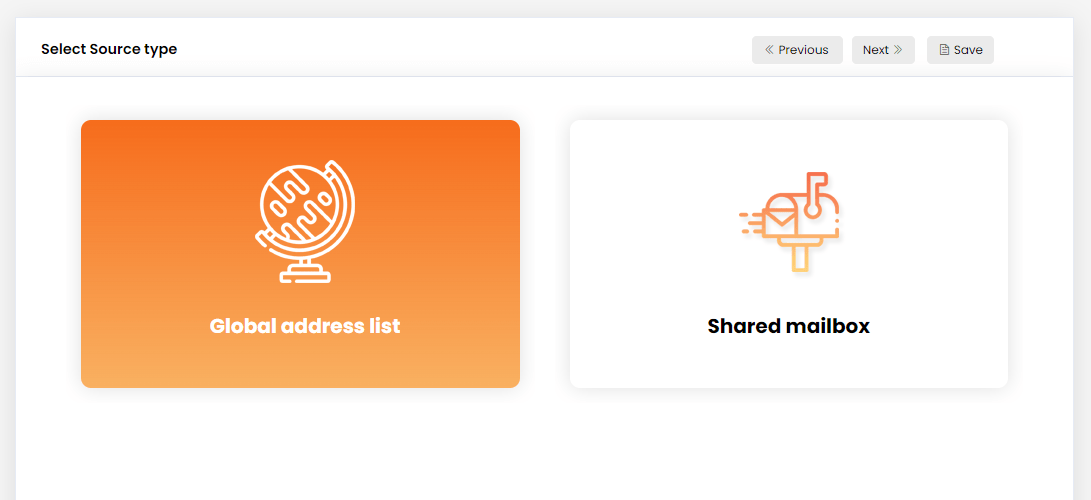
Select option 1 from the boxes – Global address list by clicking on it.
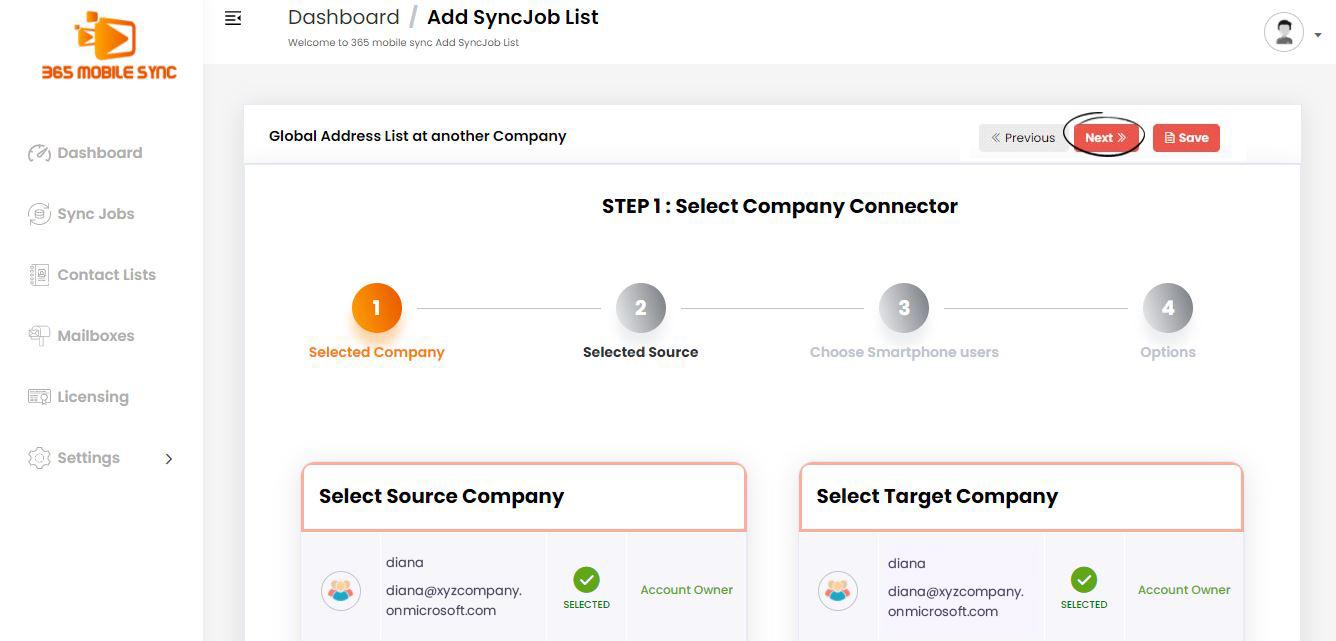
Step 1: Select your company connector
Select the source company from the list by clicking against the desired company. Now, the select icon <icon> will be replaced by a green color selected icon <icon>.

Now, choose the target company to add in the sync job by selecting the company available from the list. Then the select icon <icon> will be replaced by a green selected icon <icon>.
Click on the next button from the top menu
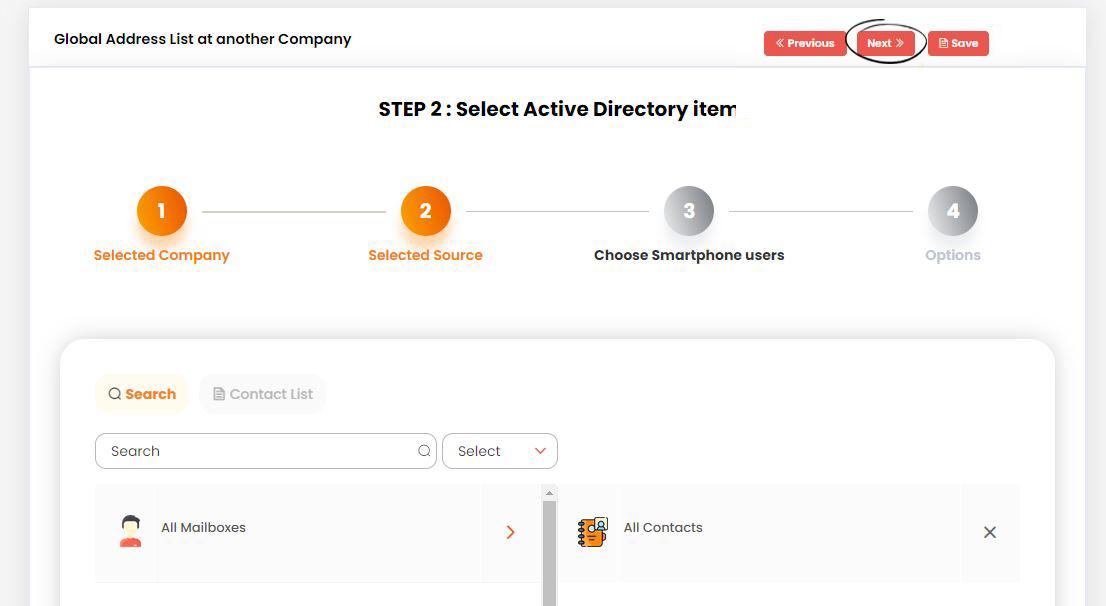
Step 2: Select active directory items
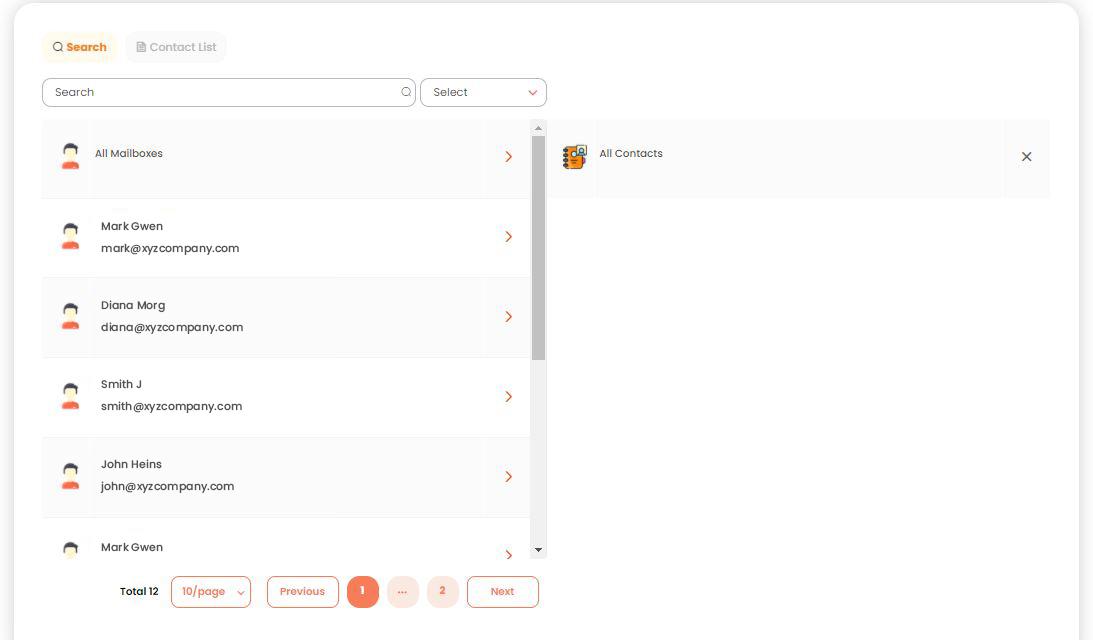
After successful completion of step 1, select the required contacts to add in the GAL.

You have multiple options to add the contacts;
- Select all contacts: To add every contact in your contact list
- All mailboxes: To add all mailboxes
- Individual contacts: Select the contacts to add
Note: Select all mailboxes and all contacts to sync the entire list to the desired user’s smartphone.
The selected user must appear on the right column.
Click on the next button from the top menu
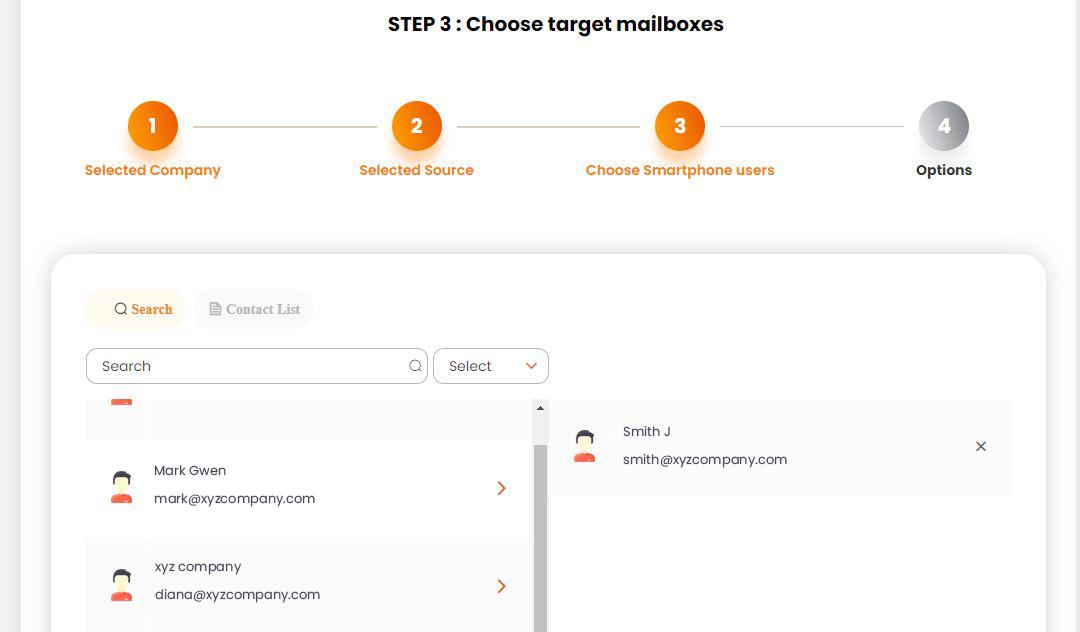
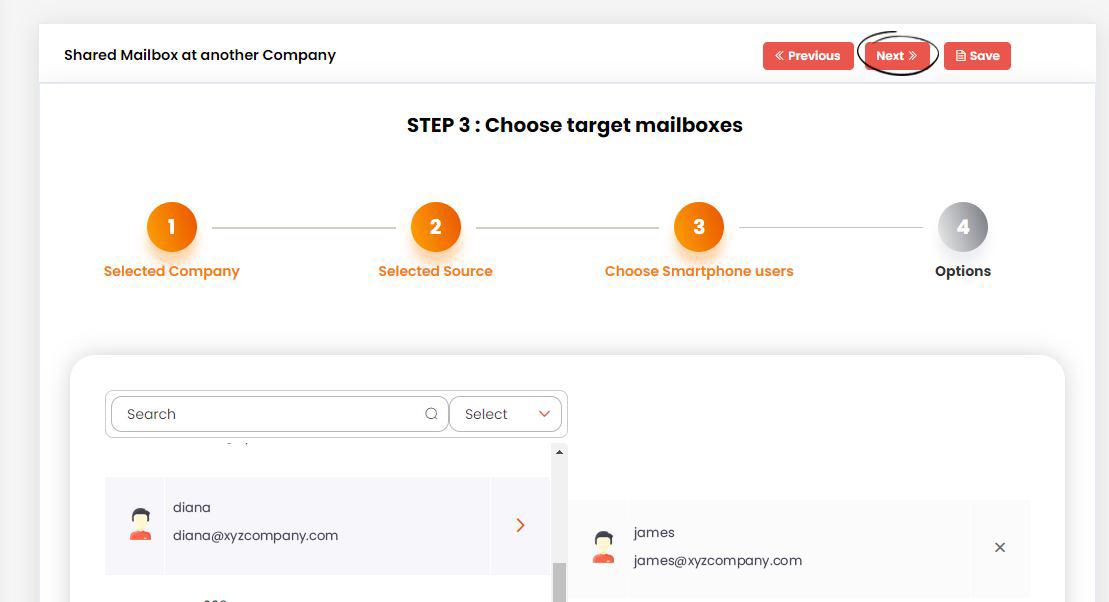
Step 3: Choose target mailboxes
After completing step 1 & 2, select the target smartphone user for the sync job.
The selected user must appear on the right column.
Click on the next button from the top menu
Step 4: Options
Here, you can give a name to the sync job if needed. Select “Add category with sync job name” to add the category name alongside the sync job name. We recommend you to select this option.
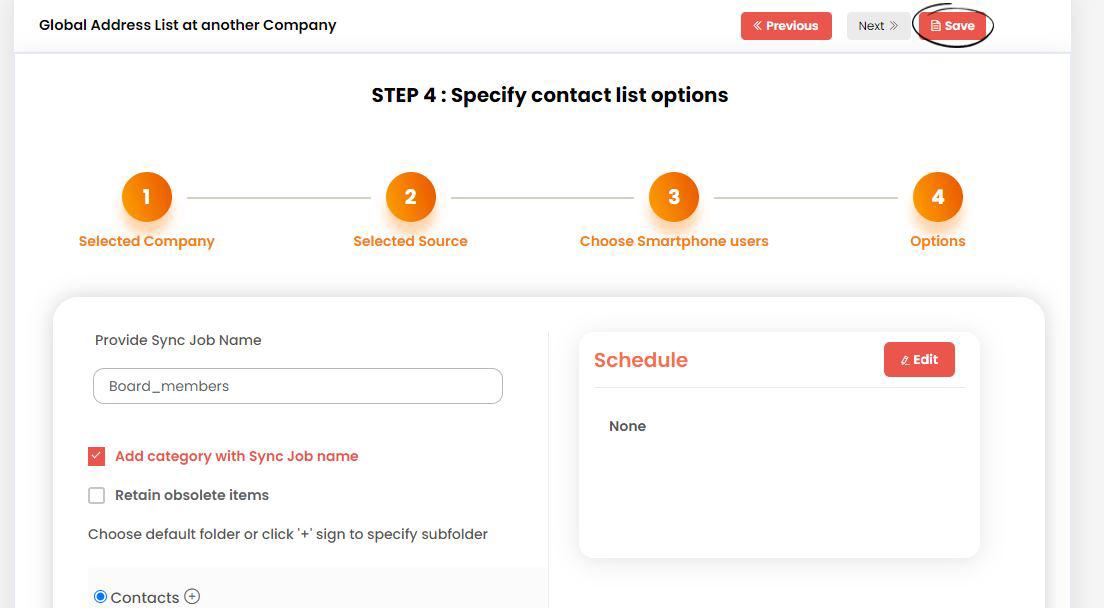
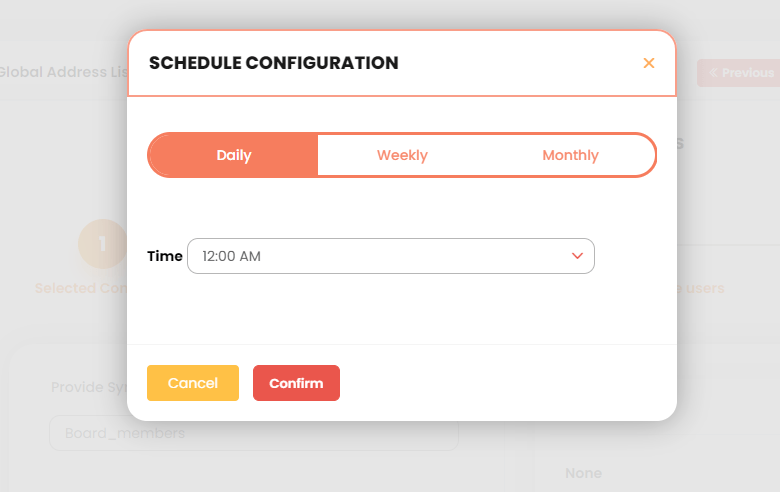
You may save the sync job and later on complete the process, or else schedule a time based on your preference. To do this click on the edit button and add required details.
Click on the save button on the right top to complete the GAL sync process.